


Coventry Garden Sew-Along: Part 5
The Coventry Garden quilt is finished and Marcea Owen of Cotton Street Commons reveals the last steps !

Let’s see how we got there
Find every steps of the Coventry Garden Sew-along in the previous articles.
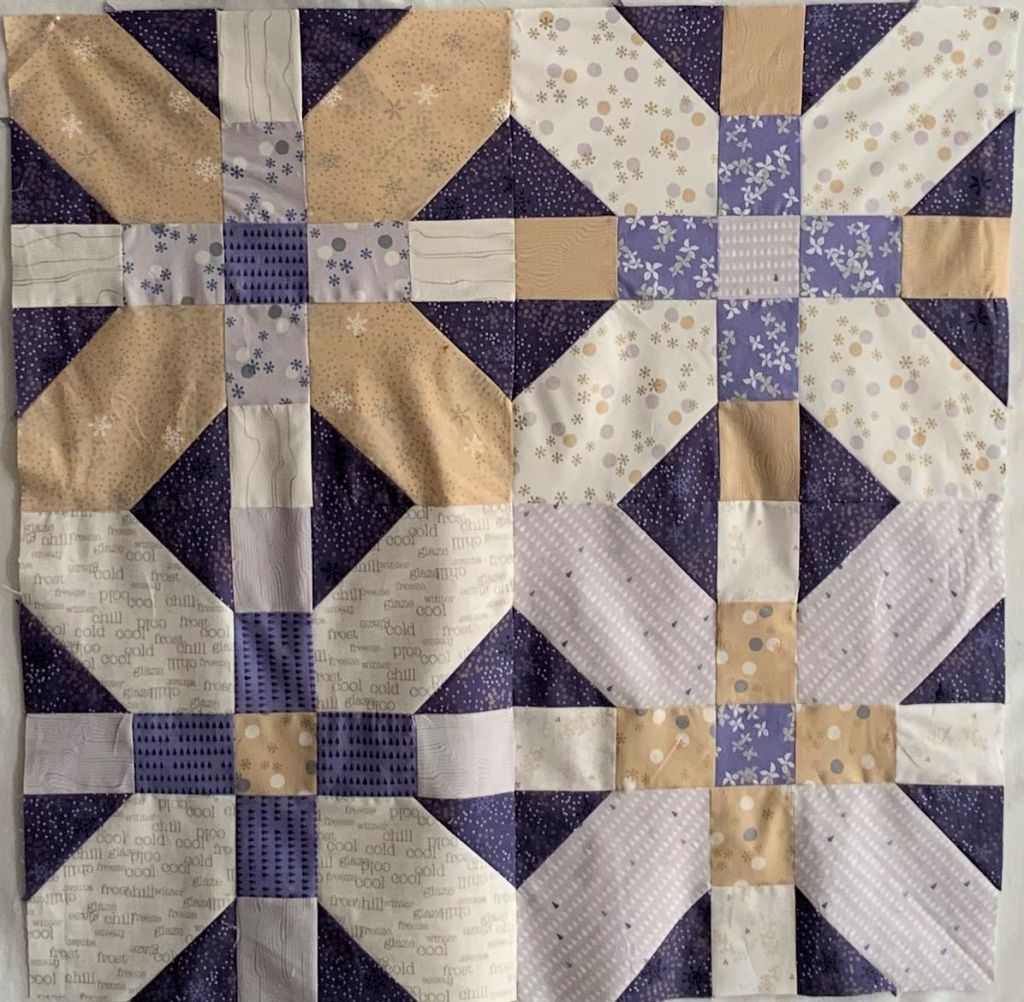
You should have all your Blocks sewn together. At this point, I like to lay it all out. It is my last chance to move my blocks around to get just the right positioning of each. I also add the last of the background pieces. Seeing it like this gives you one more chance to make changes.
**HINT – I step back and take a picture with my phone. Then I study the layout in that picture. For some reason the picture makes it easier to spot problems.
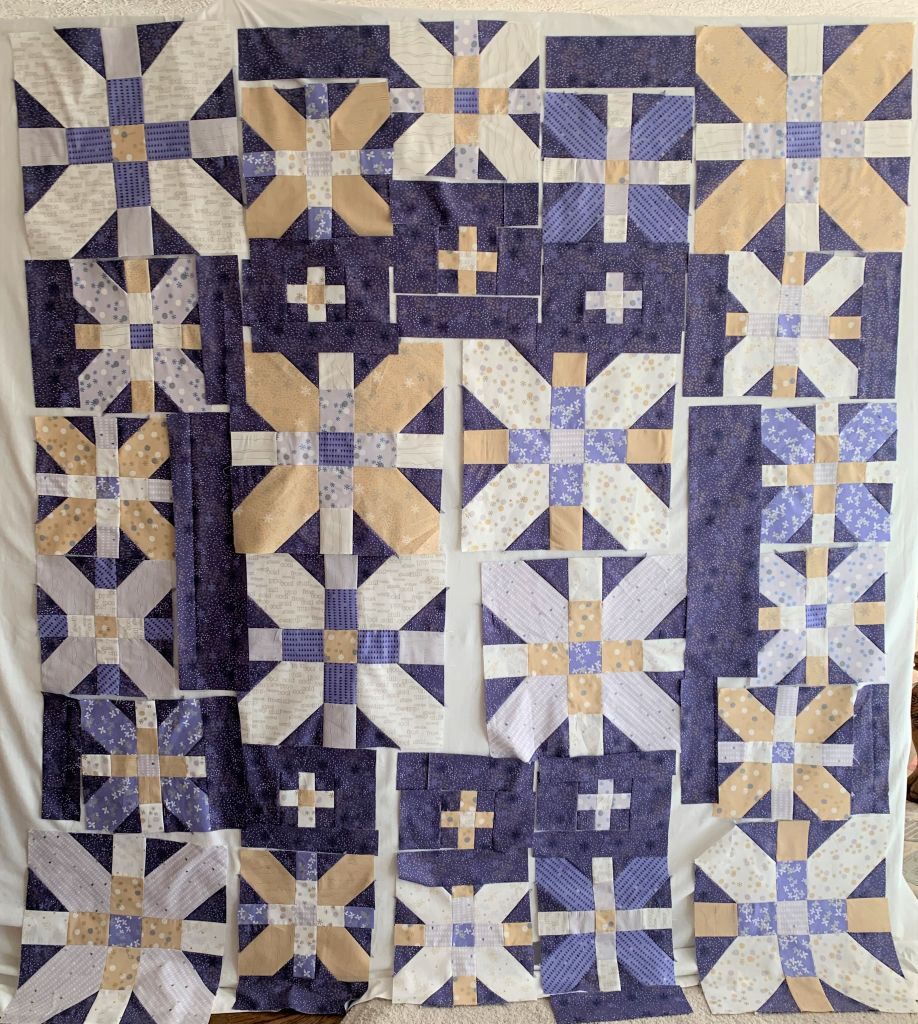
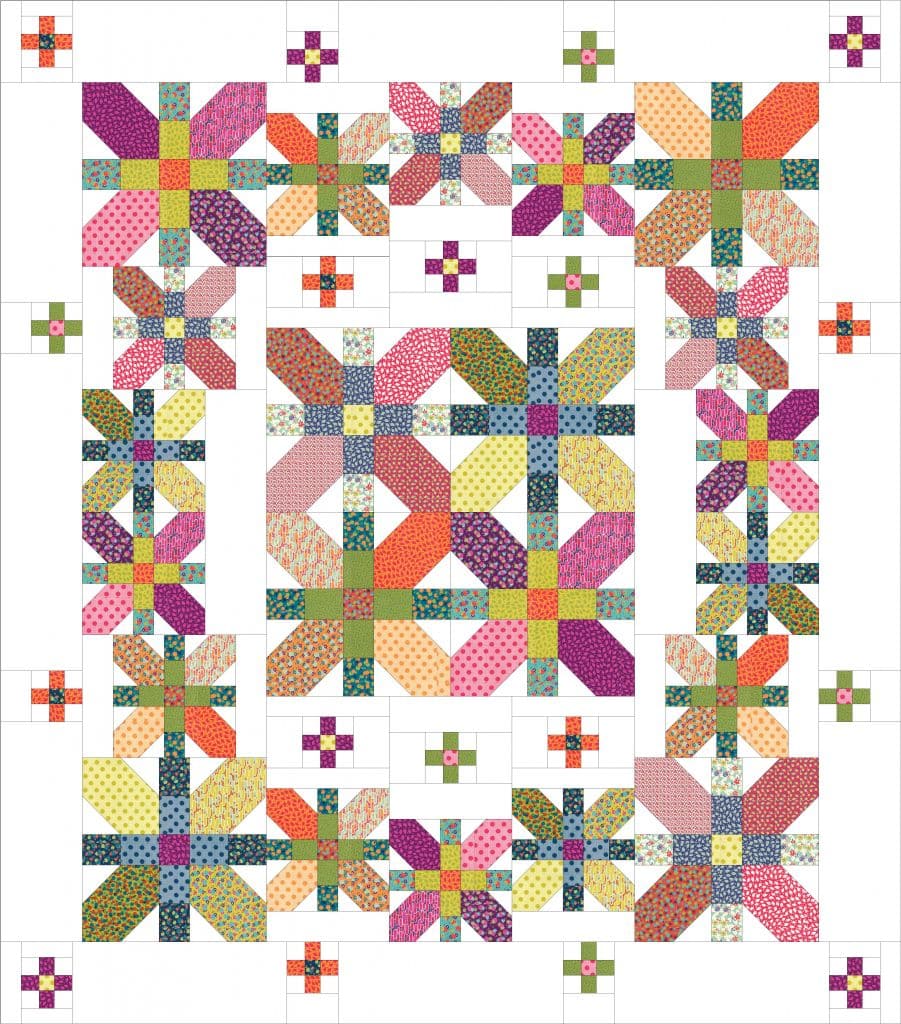
I think I am happy with my Block Placements. My colors are spead out nicely. (this is the picture I looked at on my phone to make changes.)
Now to put together the sections
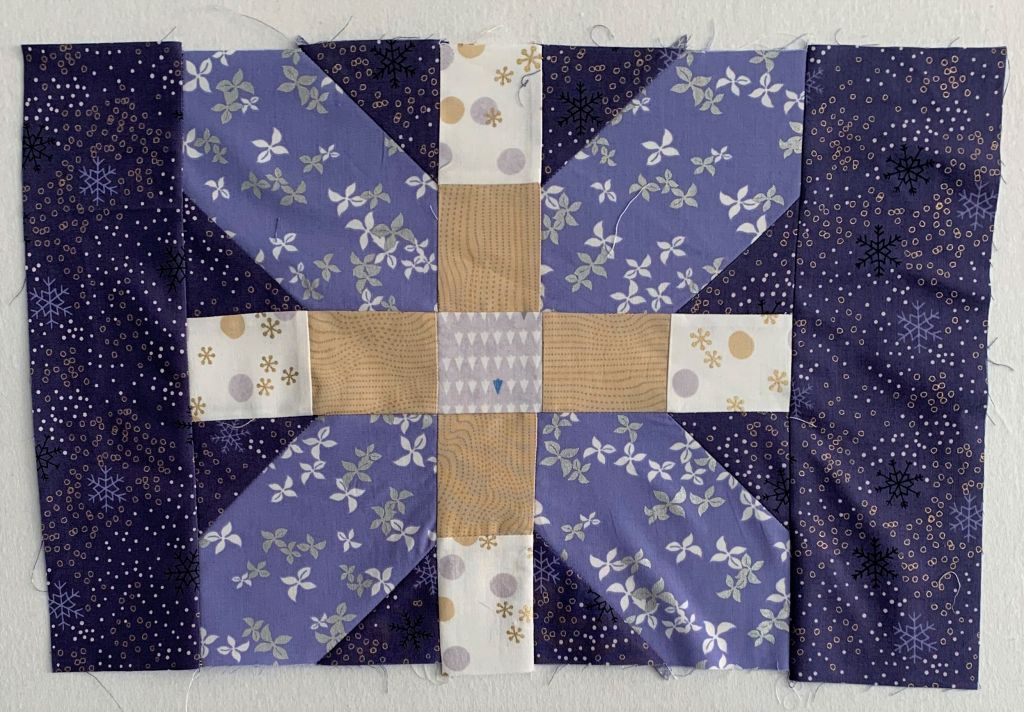
Start with the Block A’s on the sides of the quilt. Add a Piece P to both sides.
The Middle 2 Block A’s on the sides get sewn together and then add a Piece Q on one side. Make sure it is on the inside of the Section according to the layout.
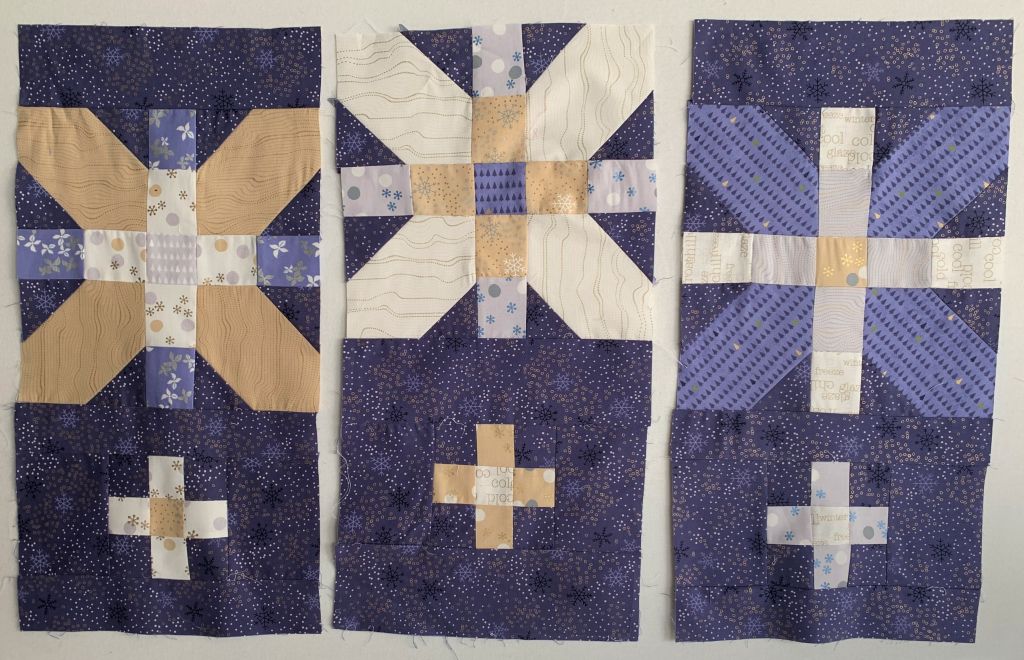
For the top of the center, it will start with 3 sections. For the first and third sections, you will add pieces O and N. For the middle section, you will add 2 piece M’s. Sew the 3 Sections together. Make one more center, only flip it upside down for the bottom.
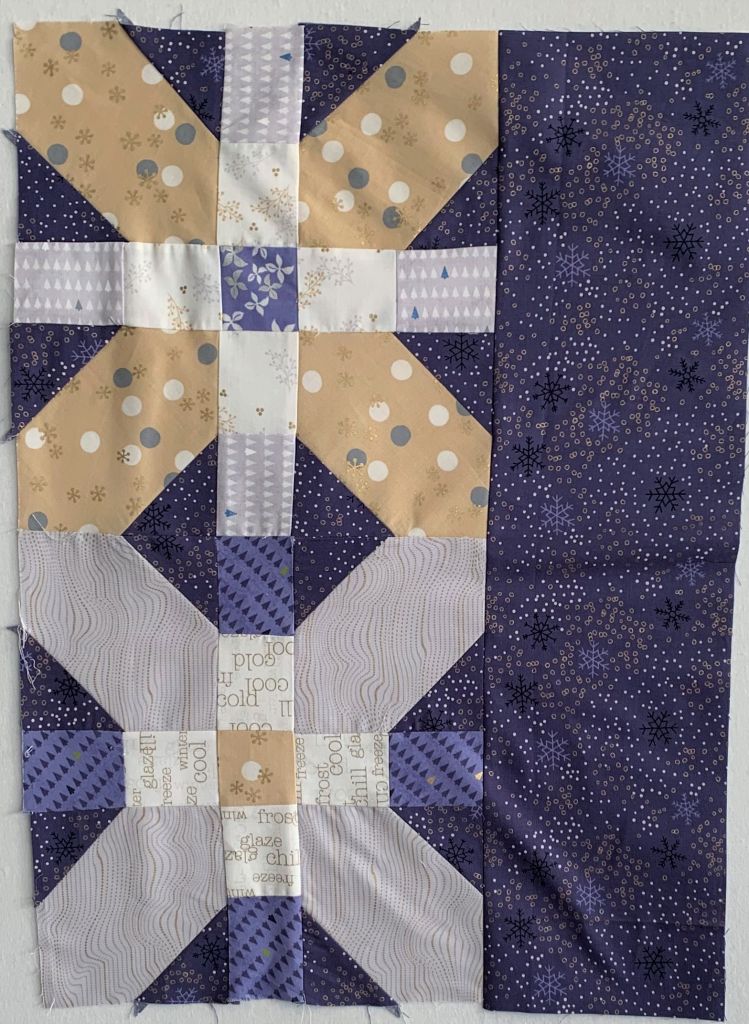
Sew 4 block B’s together for the center.
Assembling the quilt is done in 3 Columns.
First, Sew the sections together in each column. Then, sew the 3 Columns together.

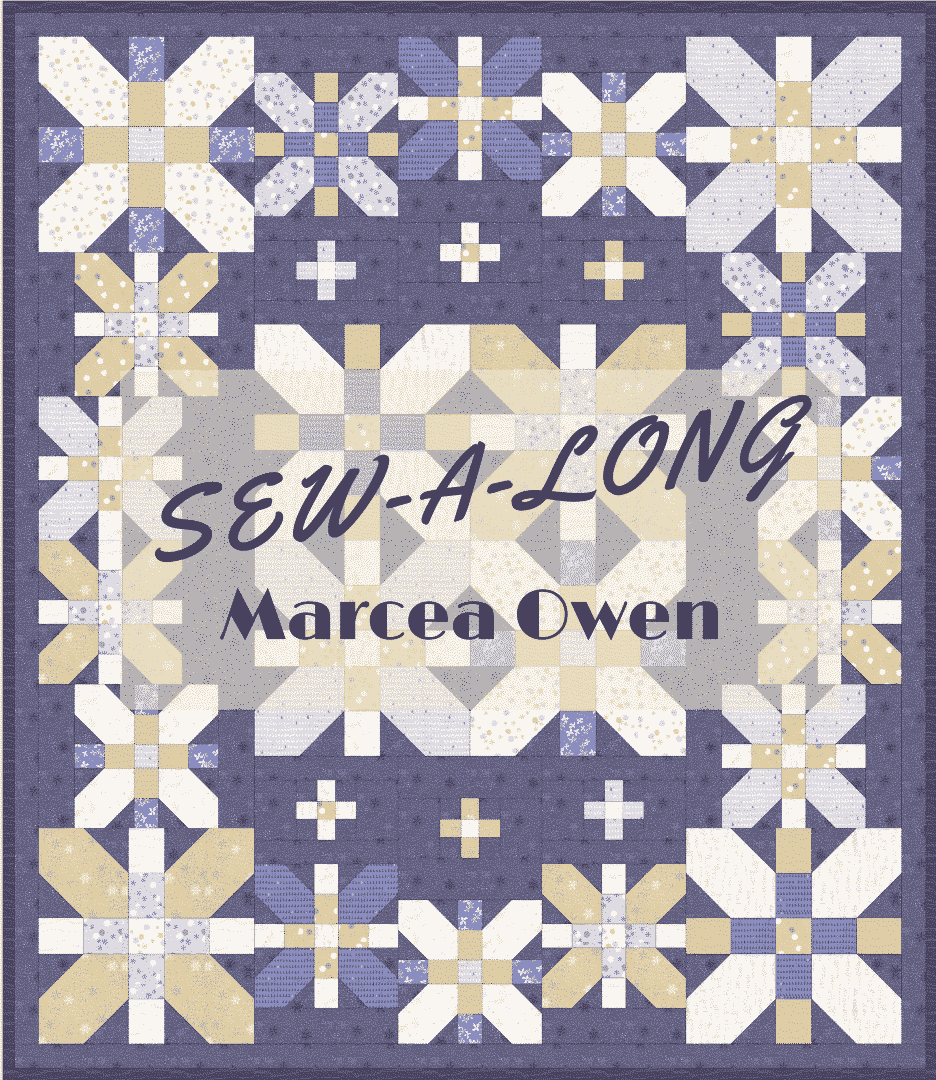
At This point, you will add the final borders. If you are making the larger quilt, you will see the layout in the next picture.
QUEEN/KING INSTRUCTION 88” X 100”
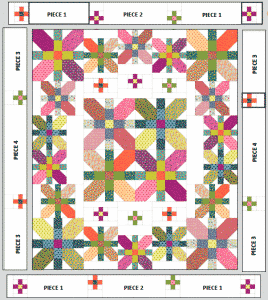
1. Cut (4) 8 1/2” x 21 1/2” for PIECE 1.
2. Cut (2) 8 1/2” x 22 1/2” for PIECE 2
3. Cut (4) 8 1/2” x 22” for PIECE 3.
4. Cut (2) 8 1/2” x 33 1/2” for PIECE 4.
BLOCK A
- Cut (4) 8 1/2” x 2 1/2” for PIECE 5
- Cut (8) 5 1/2” x 2” for PIECE 6
- (4) Additional Block C’s

BLOCK B
- Cut (8) 5 1/2” x 3 1/2” for PIECE 7
- (8)Additional Block C’s
SEWING INSTRUCTIONS:
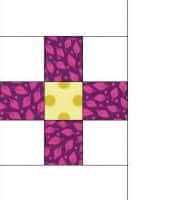
Sew (12) additional Block C’s.
BLOCK A
1. Sew (1) Piece 6 to the top and one to the bottom (4) Block C’s.
2. Sew (1) Piece 5 to the right side of (2) of the blocks. Sew (1) Piece 5 to the left side of the other (2) blocks.
BLOCK B
1. Sew (1) Piece 7 to the Right side of the Block C.
2. Repeat Step 1 with the other (7) Piece 7’s and Block C’s. These blocks will rotate according to the layout.
COLUMNS
1. Sew the pieces in order to make the two Side Columns. (make sure the Block B’s are facing the correct position according to the Diagram..
2. Sew these Columns to the sides of the quilt.
ROWS
1. Sew the pieces in order to make the Top and Bottom Rows. (make sure the Block A’s are in the correct position according to the Diagram.
2. Sew these Rows to the Top and Bottom of the quilt.
YOU ARE FINISHED!!
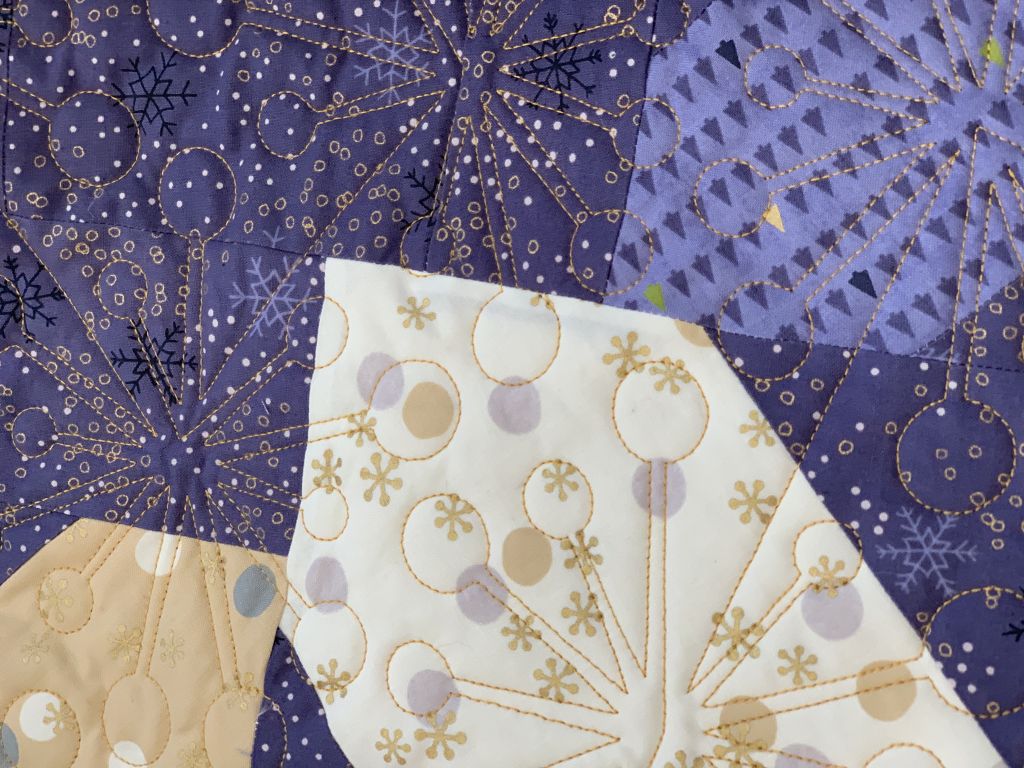
Now, for the quilting and binding
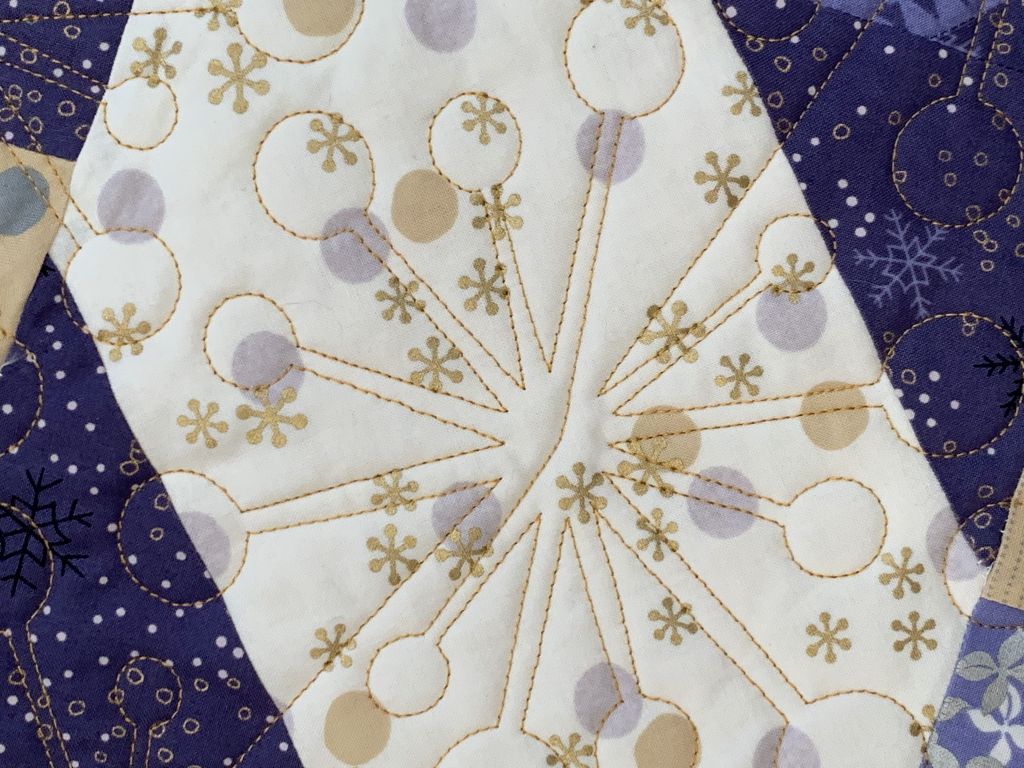
I chose a fabulous pantograph and my quilter, Johnny Barfus picked this amazing metallic thread from Superior Threads called Magnifico. It is very durable and gives off a beautiful shine. Perfect for this quilt!

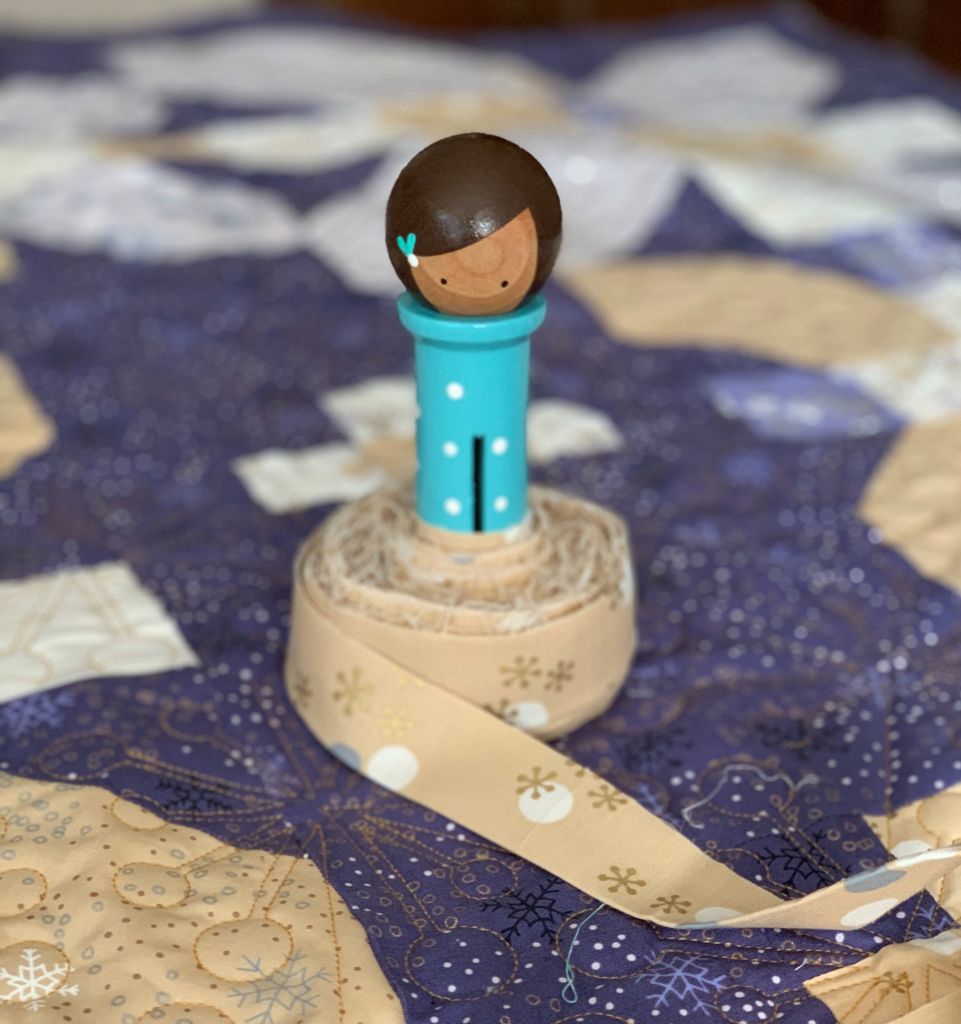
For the binding you have a couple of choices. For this version, I chose the gold with polka dots to contrast the dark background fabric. I always use my Binding Baby to put my binding on with. Couldn’t live without it.


You also have the option to make a pieced binding. Using left over fabric, to cut strips from 6” to 8” long by the width or the binding. Sew the pieces together to the length needed, press seams open.
Just for fun, I thought I would share the back.
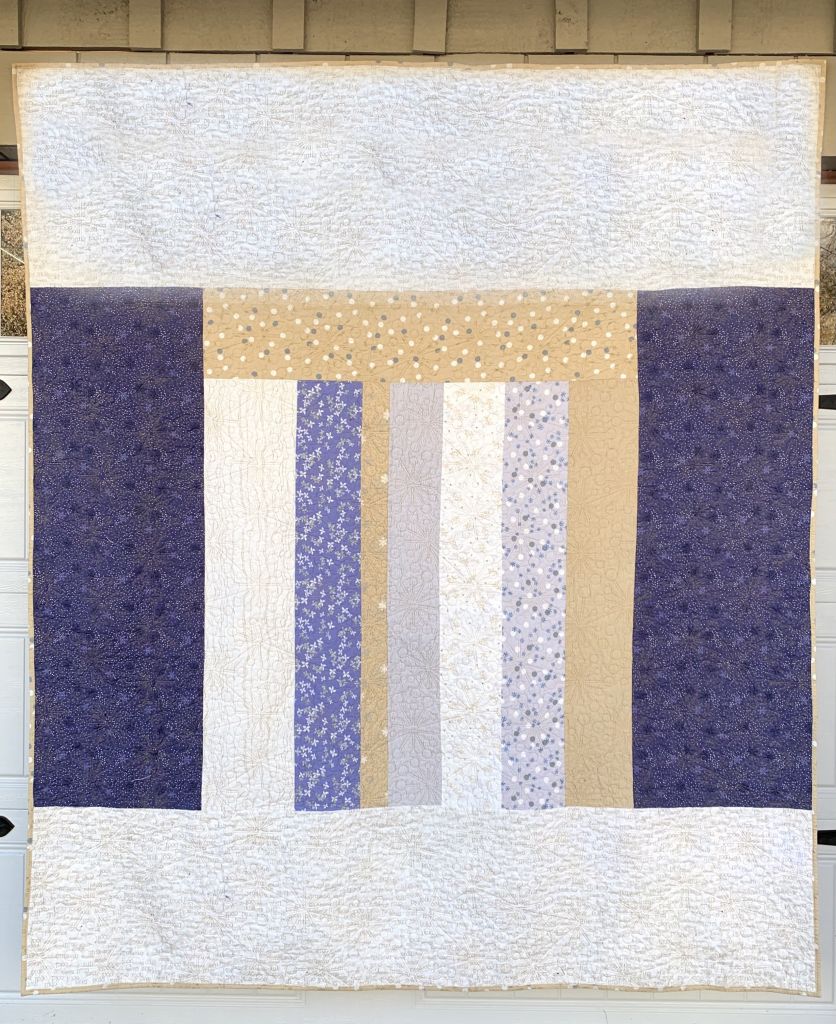
Most of the time, I loved doing pieced backs, and usually they are done with leftover fabric from the front.
I have really enjoyed having you joining me for this sew-along. This quilt design is so versatile and can be done in so many fabric combinations.
Thanks again! Use #quiltmaniasal to post pictures.
If you have any questions as you are working on your pattern, just email me at info@cottonstreetcommons.com


Leave a Reply
You must be logged in to post a comment.